
6.7. Oscilloscope
6.7.1. Using oscilloscope
The Oscilloscope can be used to view and record various measurement channels. The default view of the oscilloscope is shown in figure Oscilloscope default view. The adding of channels is done simply by selecting them from the list in All Channels.
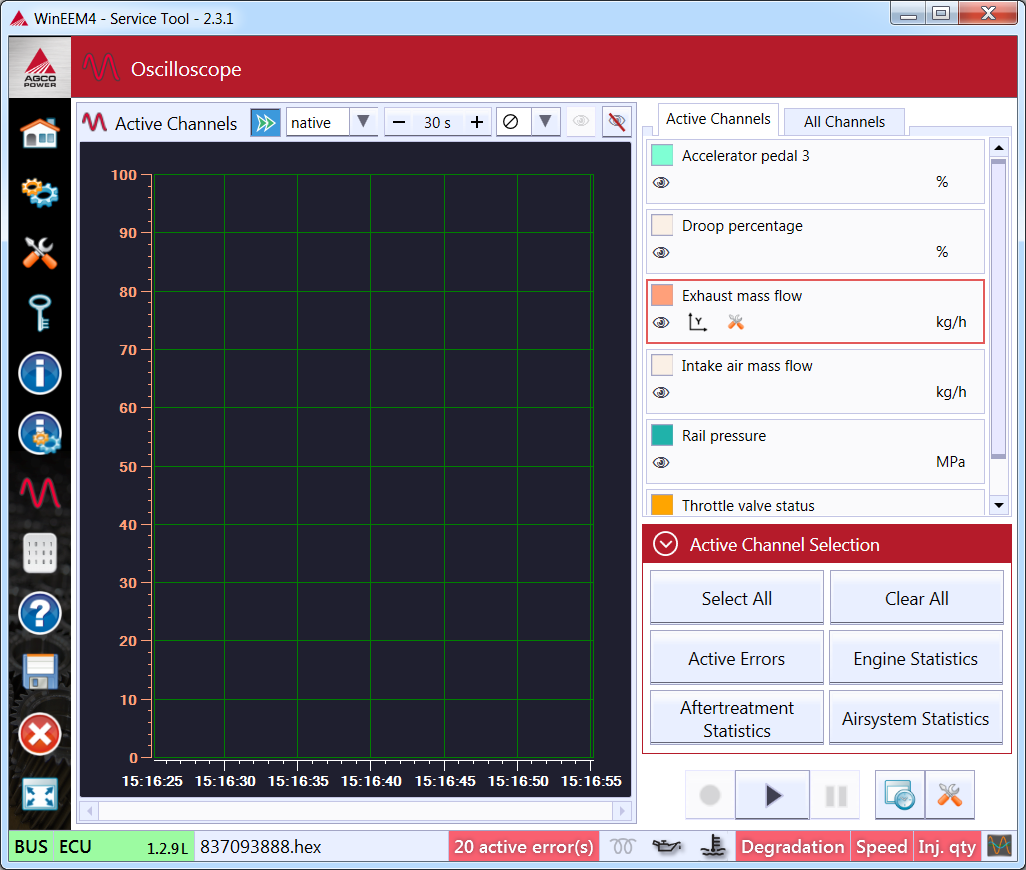
Oscilloscope default view
The measurement can be started by pressing the play-button in the lower right corner. See figure Oscilloscope controls in initial-mode. This will change the mode of the oscilloscope to play-mode. In this mode you can also start recording measurements to a file, to stop the measurement, and pause the measurement. See figure Oscilloscope controls in play-mode.

Oscilloscope controls in initial-mode

Oscilloscope controls in play-mode
The Oscilloscope running with 3 channels is shown in figure Oscilloscope with active measurement.. When a channel is selected from the list in Active Channels, the Y-axis of the oscilloscope is changed automatically for that channel. For instance in this case the selected channel is “Battery voltage” and the Y-axis is 12-13 V. If for example the channel “Barometric pressure” would be selected, then the Y-axis would change to show kPa. This automatic hiding of the Y-axis saves a lot of screen size when multiple channels are in the measurement. If you want to see the Y-axis of some channel, it can always be turned on by selecting the button Y with the arrows from the Active Channels list below to the channel name. Also, the Y-axis can be configured by clicking the icon with tools. See figure Channel settings
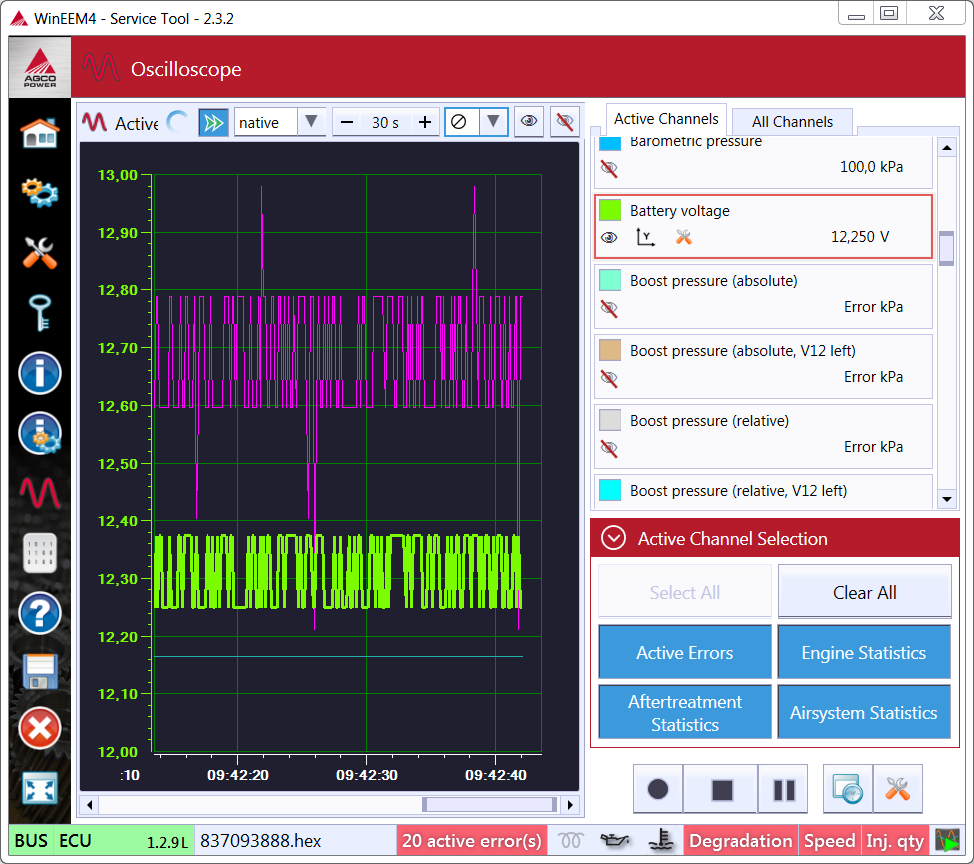
Oscilloscope with active measurement.
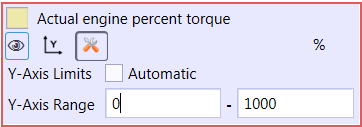
Channel settings
The behavior of the oscilloscope can be controlled by the oscilloscope view controls. See figure Oscilloscope view controls. With these controls it is possible to control:
- Tracking: Whether the view is stopped or does it scroll with the latest values.
- The update interval of the measurements. (25ms - 10s)
- The visible time span of the measurement.
- The data cursors. See figure Oscilloscope with cursors for multi channel Y-cursor.
- Visibility of all channels with “Show all” and “Hide all” buttons.

Oscilloscope view controls
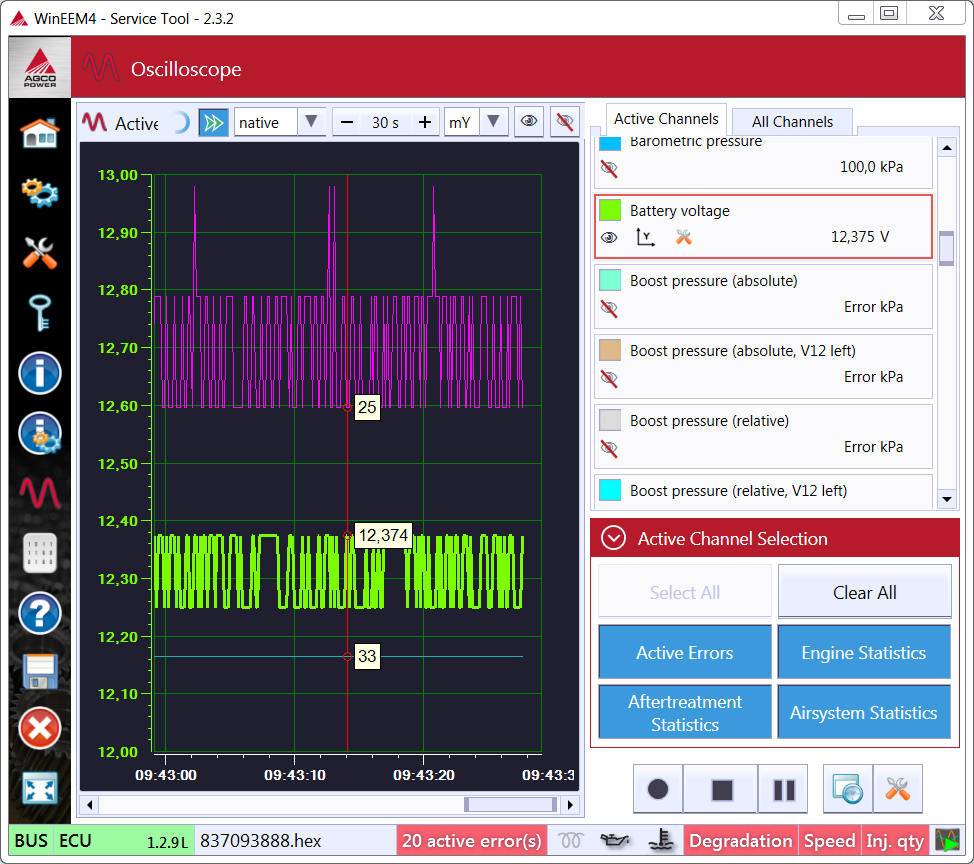
Oscilloscope with cursors
6.7.2. Recording
The recording can be started while in play-mode by pressing the rec-button. See figure Oscilloscope controls in play-mode. Each recording will be stored in a file with a date and time stamp as a part of the file name. You can control the directory and recording file prefix by changing the recording settings. By default the recordings are stored in the “Recordings” folder in your “My Documents” folder. Also it is possible to give a description of the recording which can be useful information later when viewing the recording. See figure Recording settings.
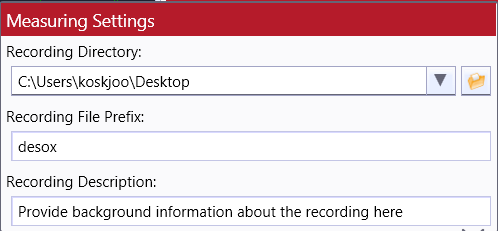
Recording settings
To open a recording select the Recording Viewer in the Measurements category view and Open Recording. See figures Oscilloscope category view and Oscilloscope with recording open.
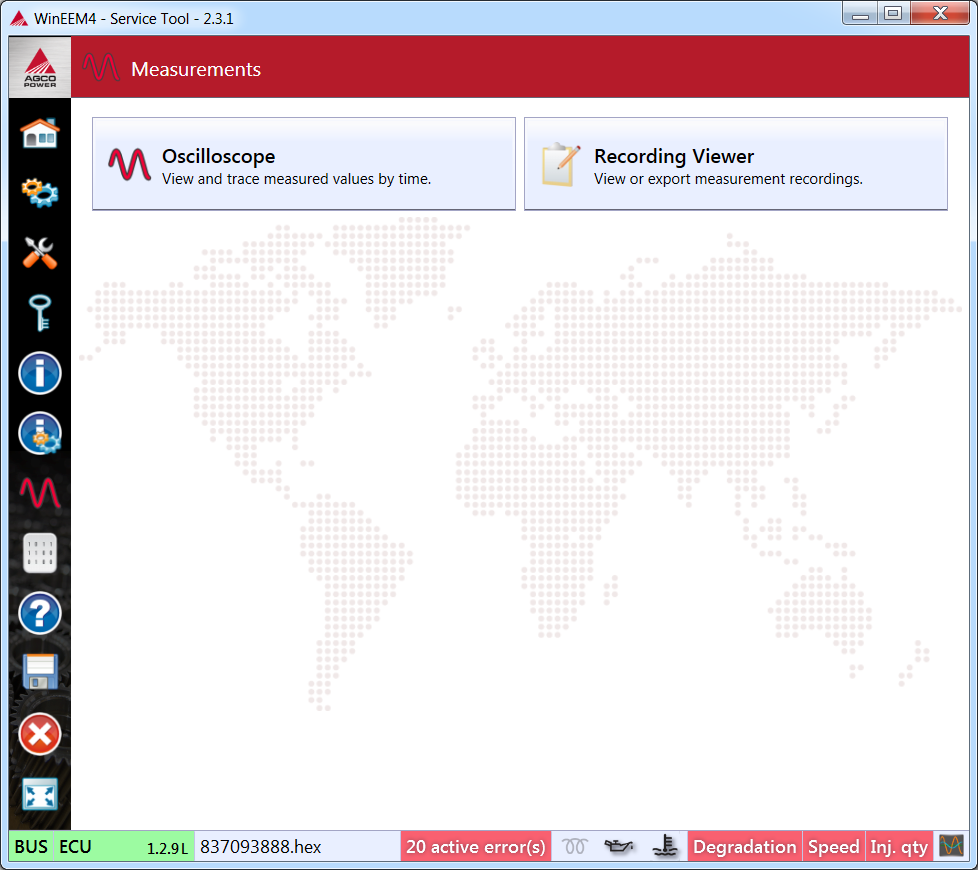
Oscilloscope category view
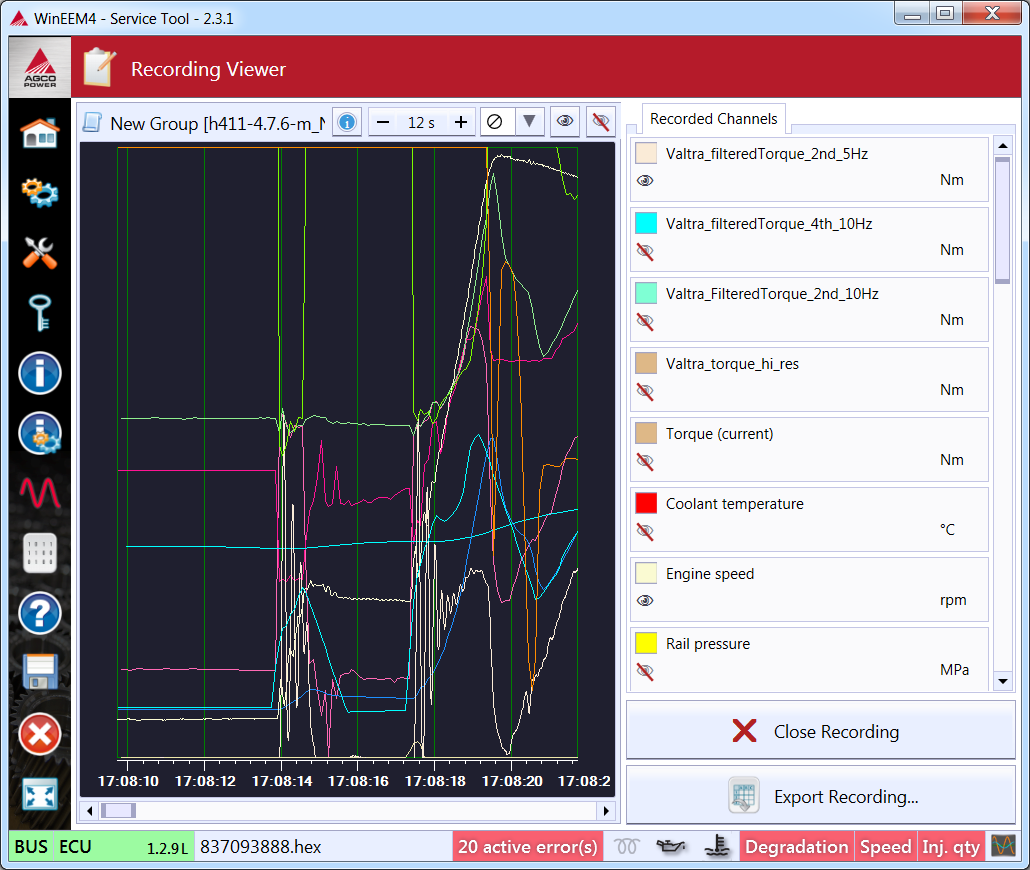
Oscilloscope with recording open
The Recording file (.dr3) is a binary file. To open the file with other software than the Service Tool it must be exported. To export a recording select Export Recording. Possible external formats are Microsoft Excel spreadsheet, xml based Office XML and ASCII text file. See figure Export dialogue.
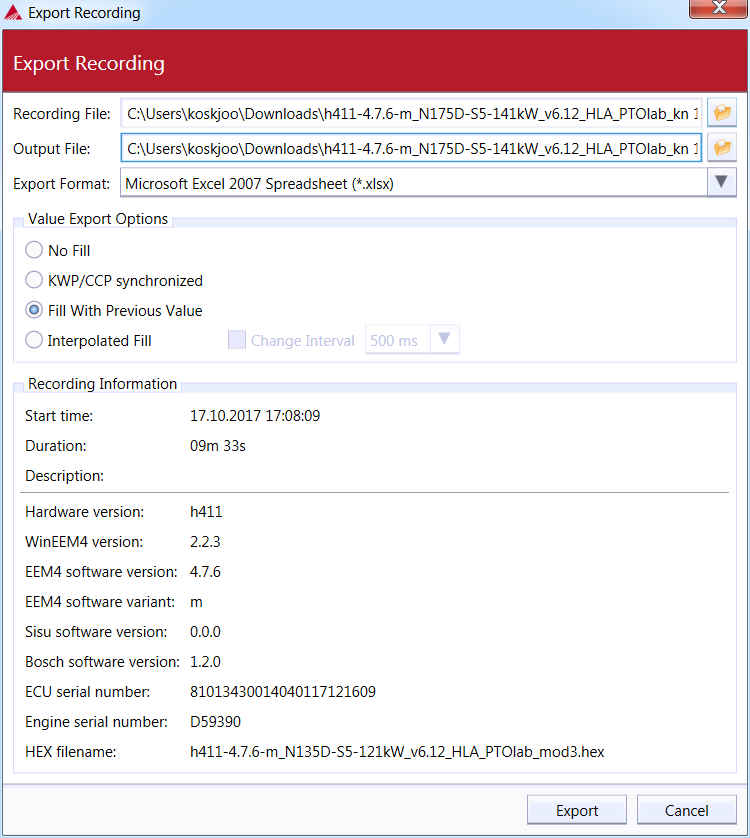
Export dialogue
An exported file in the Microsoft Excel spreadsheet or Office XML format can be opened in Microsoft Excel. See figure Exported recording in Excel.
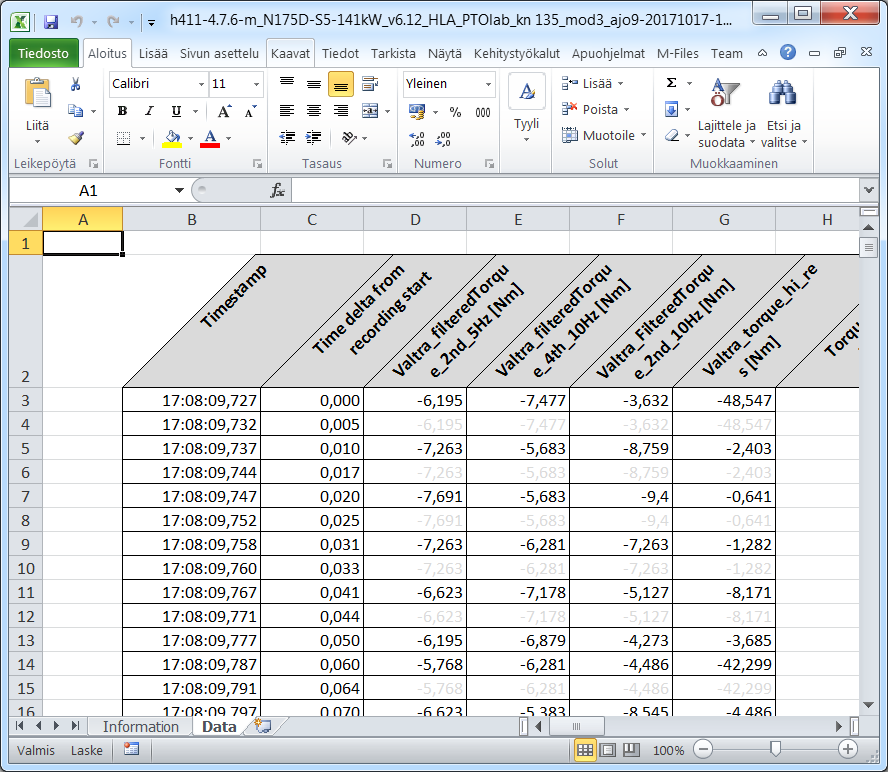
Exported recording in Excel